Pawrents and humans that read this blog, let me tell you something: Photoshop can become quite addictive. I’ve had some free time and guess what I’ve been doing…photoshopping. I’ve even started photoshopping my bedroom to “try out” new furniture. This design includes Mocha, of course, who is the undisputed king of the house.
This week for class we were tasked with turning in our final graphic design project. If you stumble upon this blog, there’s a whole other entry where you can read about the draft phase of the project and see some of the Photoshop magic I worked on that week. I got to see my classmates’ work and both gave and received feedback, which reminded me of the saying “two heads are better than one “. After reading my classmates’ comments, I came up with a 3rd idea, incorporating the feedback I received. Not only did I see my pictures with new eyes but I also realized some of the flaws no one mentioned by looking at their work.
I kept a Polaroid-shape image since that was something my colleagues praised. I incorporated “dog-themed” shapes, like the paw prints and a pun (Your woofcome!), but I changed my whole approach to the design. I also decided to keep the Polaroid format because it’s such a happy image for me! Polaroids just make me want to create memories.
Originally, I had decided to “fix” this image:

I changed my mind upon realizing as I was designing it, despite having organized the elements in my head, I had layered and blended different images without a clear end goal. My colleagues commented on how some pictures were hard to distinguish. I played and experimented with different opacities and blending modes, but the image still looked “off” and incomplete.
My “design-as-you-go” approach resulted in an image that didn’t incorporate good design elements. It was a cool picture, but I didn’t see it working.
So, without further ado, I bring to you:
THE POLAROID 2.0

This is a very light-hearted blog, and since I want this image to be on the main page of the blog, I am trying to keep it fun. I made a quick sketch on a notebook of what I wanted to achieve and I came pretty close to what I wanted.
For the image, I used the following elements:
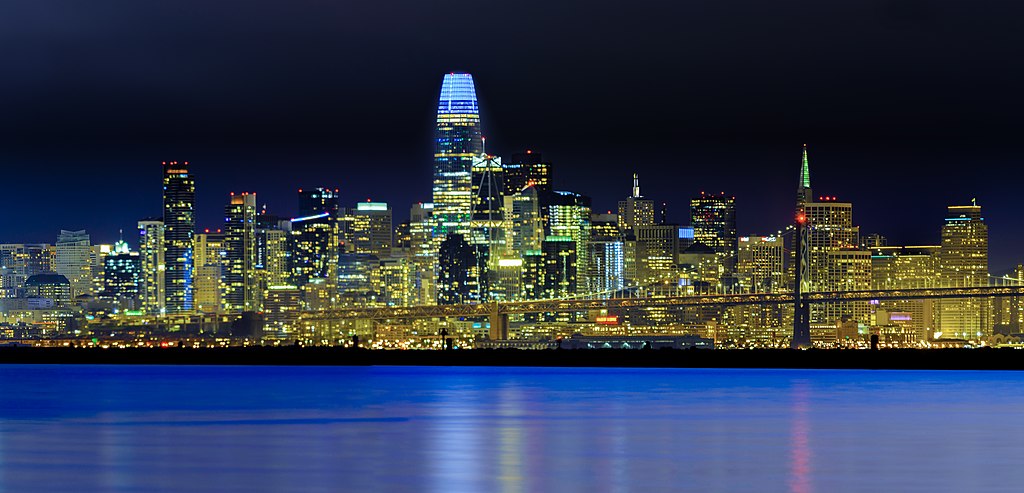
- A picture of the San Francisco Skyline from Wikimedia Commons.
- A drawing I made in Photoshop of the iconic Golden Gate Bridge. I used lines and vectors, grouped and converted them into a smart object.
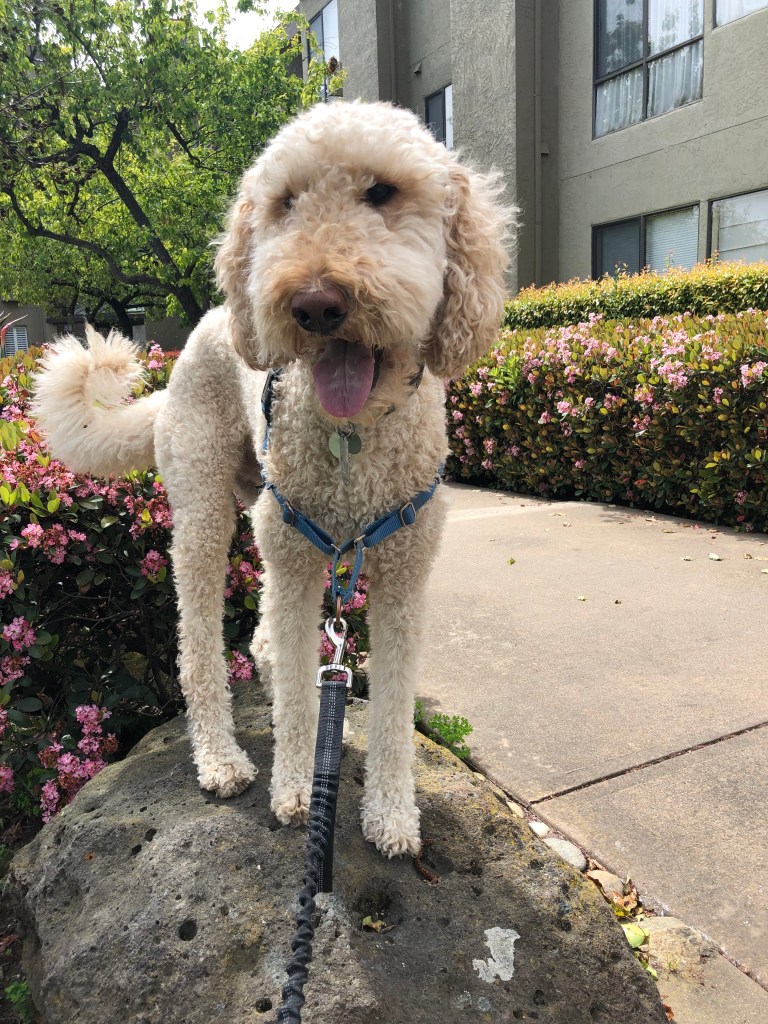
- A picture of Mocha that I cut out using the magnetic lasso. I went back to a tutorial from week 2 and from the feedback I received, I used a 3px feather style to make the cutout less choppy.
- 2 large paw print shapes.
- 3 pictures of different destinations in the area that I placed inside the text.
- A custom rectangle shape I used to make the Polaroid frame.
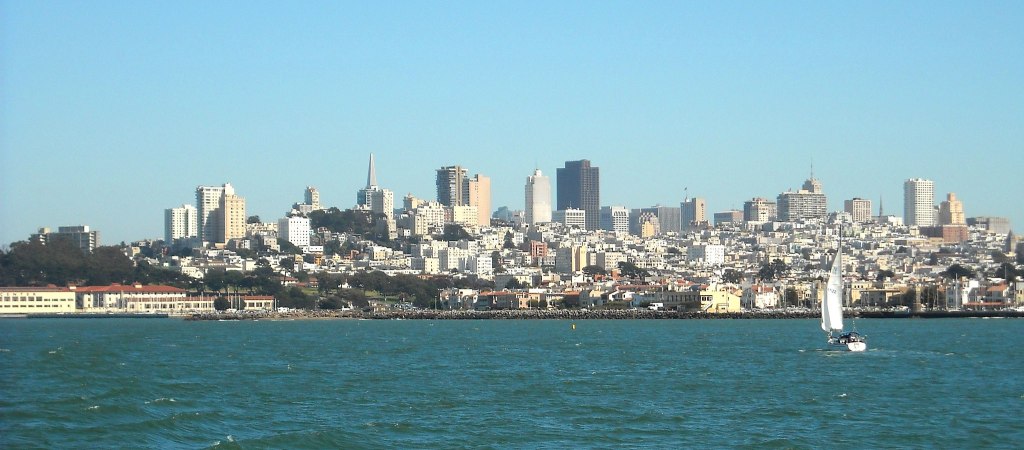
San Francisco Skyline by Daniel Ramirez [CC BY (https://creativecommons.org/licenses/by/2.0)%5D 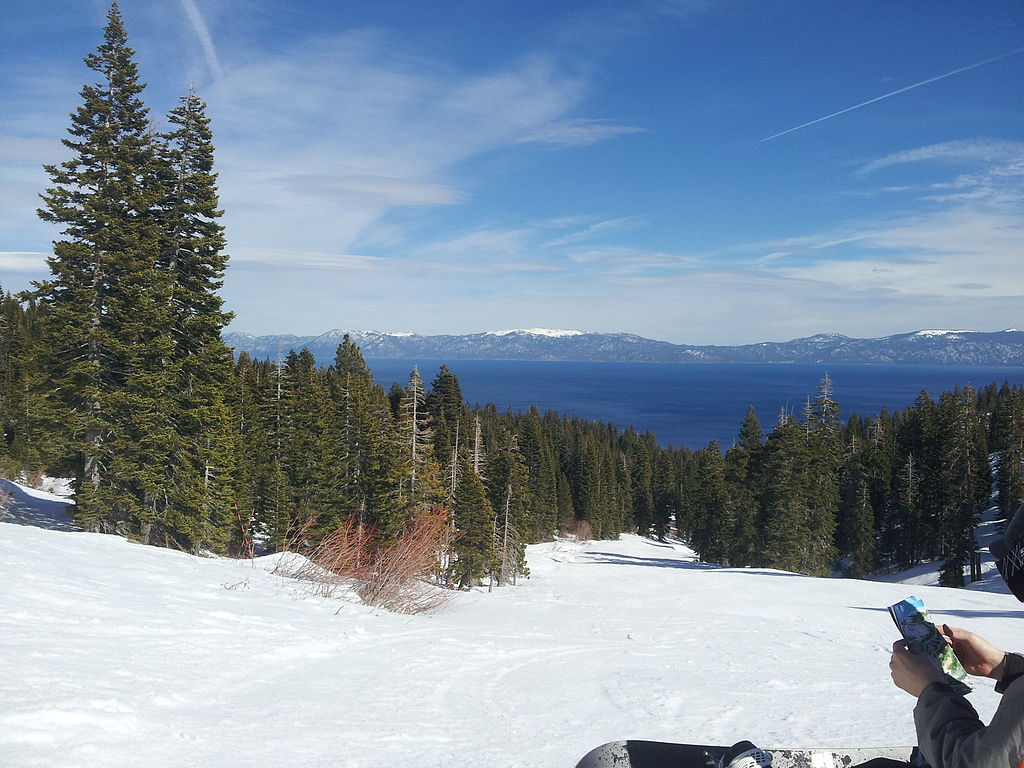
Lake Tahoe by JGonera (WMF) [CC BY-SA (https://creativecommons.org/licenses/by-sa/3.0)%5D 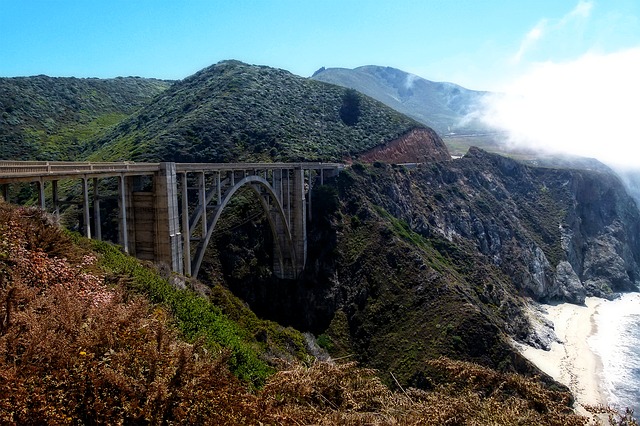
ArtTower from Pixabay 
“San Francisco Skyline at night” by Cgbriggs19 [CC BY-SA (https://creativecommons.org/licenses/by-sa/4.0)%5D
I added, cut, blended, clipped and erased elements in order to get the result I wanted.
- Background and Layer 0: The background is a blue gradient layer. I picked the blue hue from the San Francisco Skyline picture, which I placed above it. Since I didn’t want the city image to be too dominating, I brought the opacity down to 40%.
- Layer 1: This layer is the Golden Gate Bridge. I originally made the drawing in a separate file and just pasted it into a new layer once I had converted it to a smart object.
- Layer 2: Mocha! I made this layer by making a selection with the magnetic lasso tool, feathering and making a layer via copy. I hid the original image.
- Layer 3: Paw up! I used the custom shape, selected the shape, made the background black, inverted the selection and made the actual paws see-through. I brought the opacity of the shapes to 30% so they don’t hide the background but you can still see them.
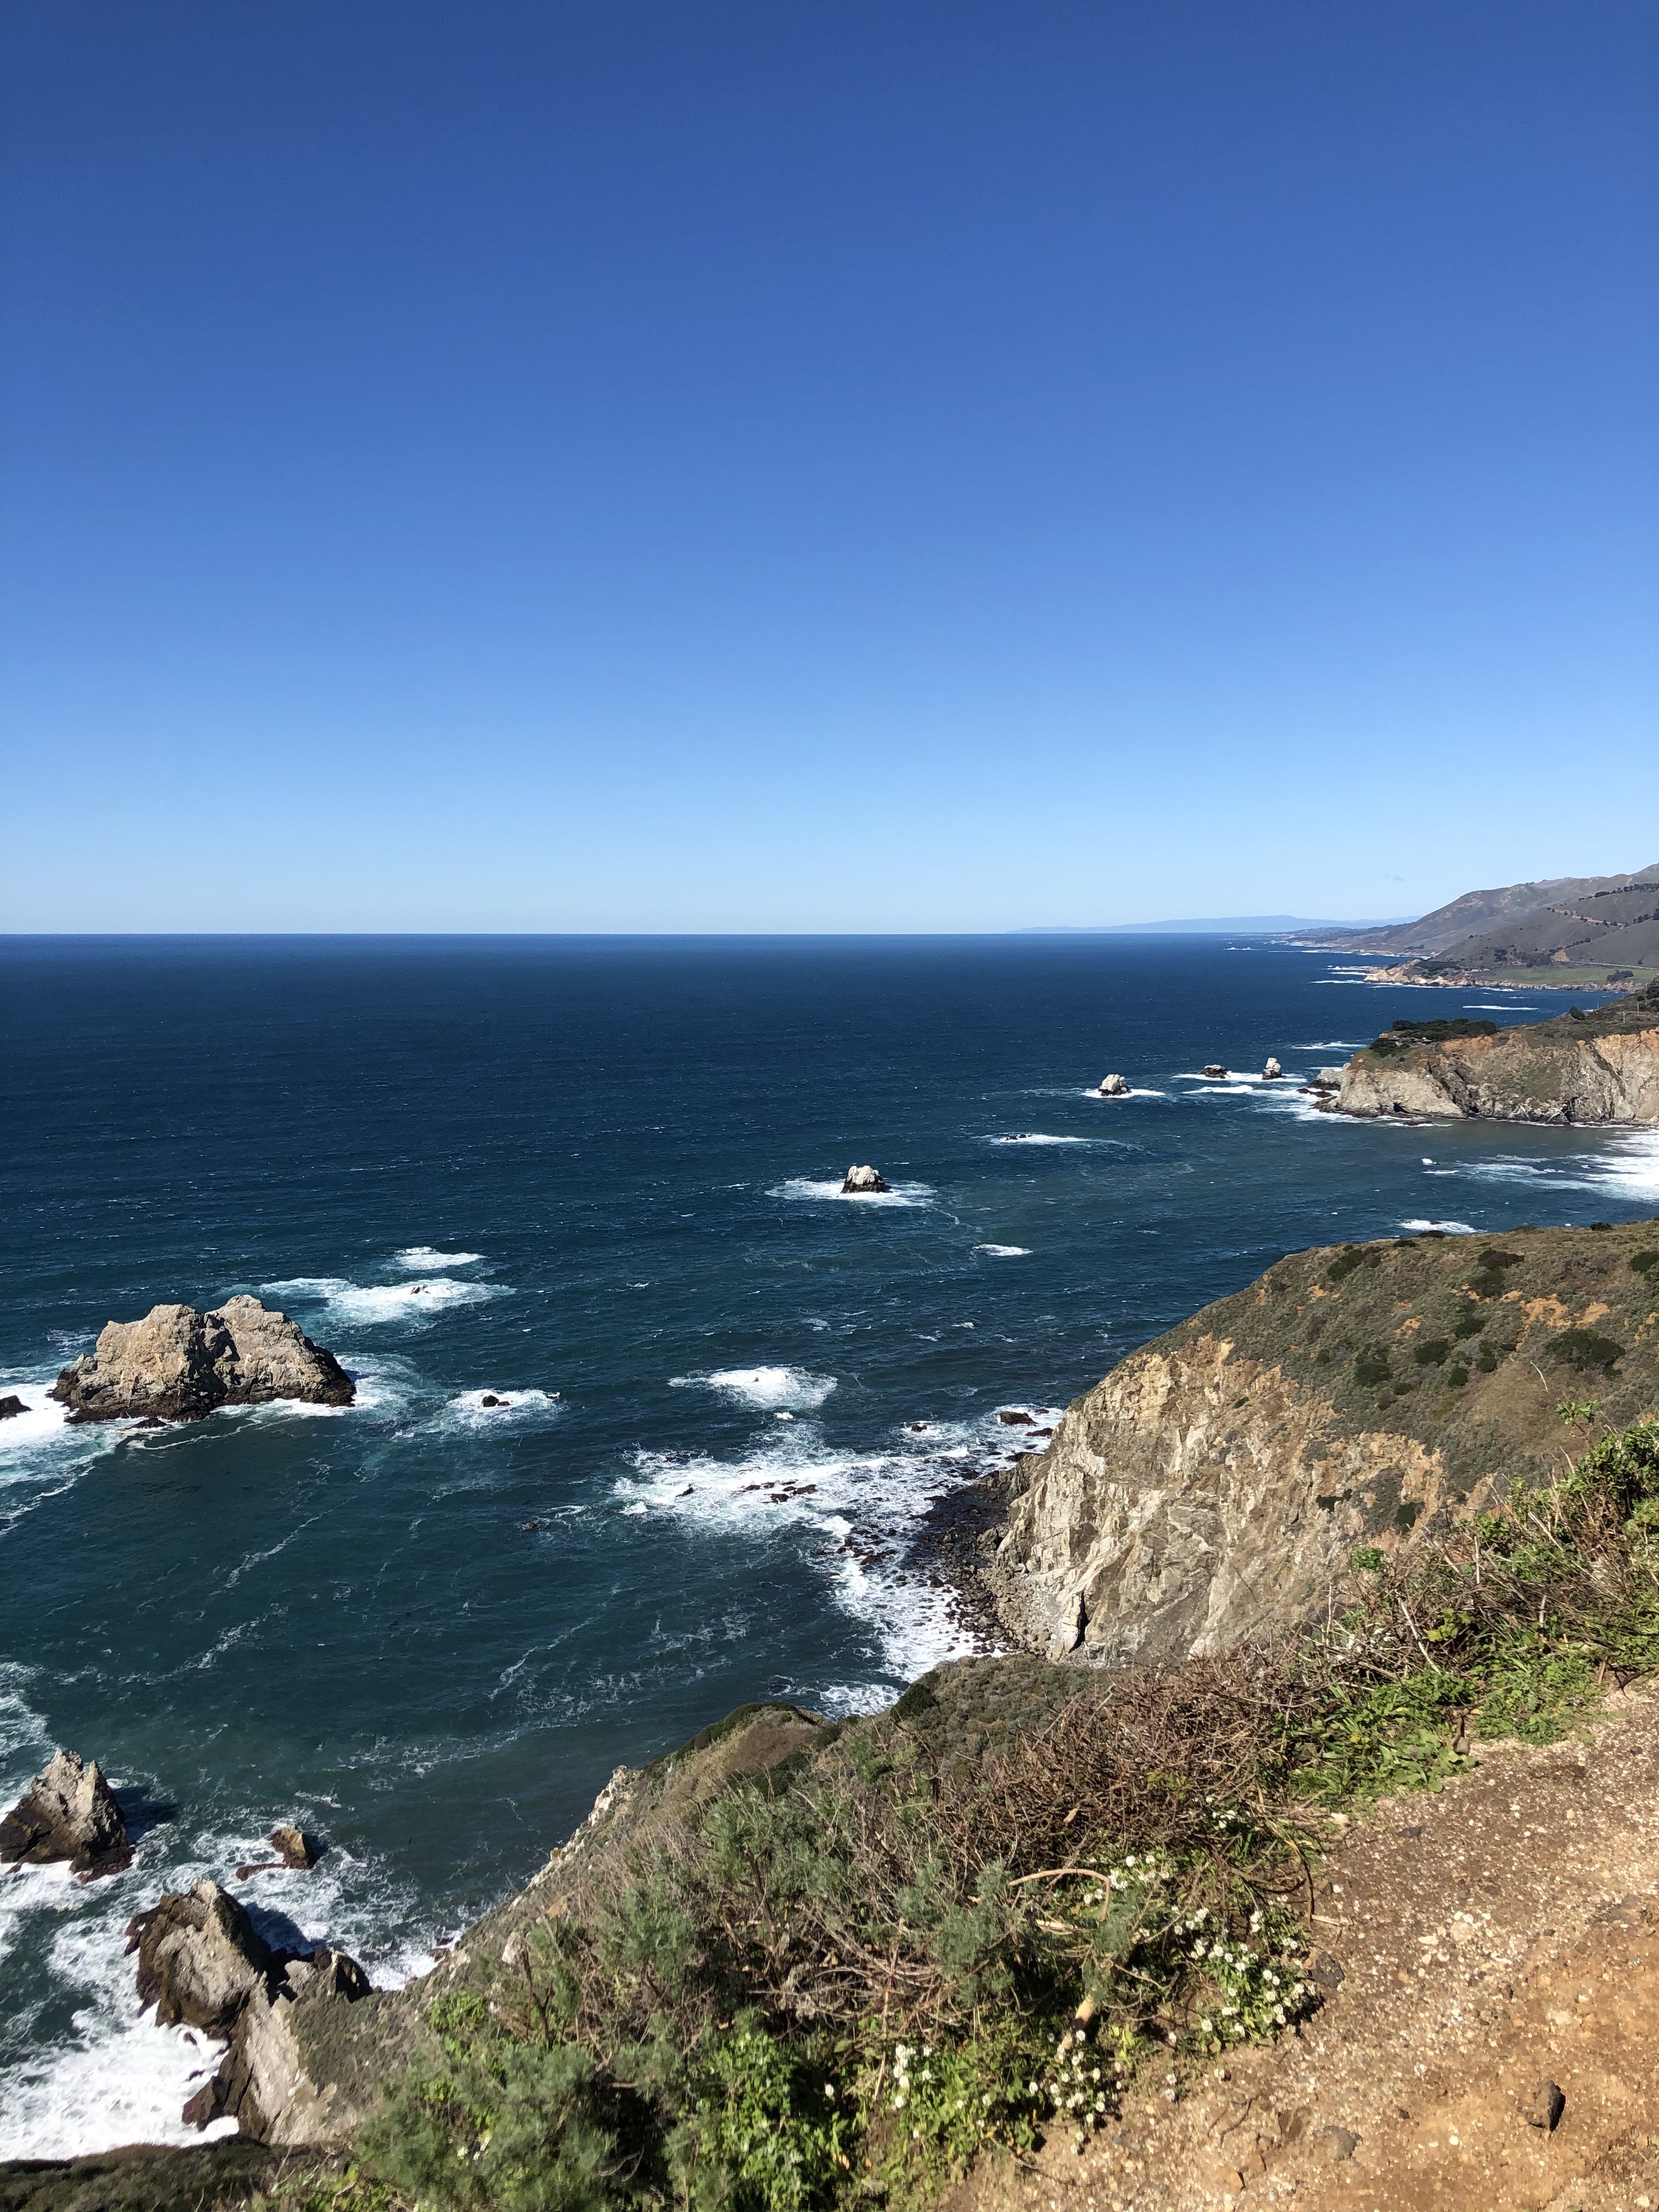
- Layer 4: Images to fill the text. I used a picture of Lake Tahoe and a picture of the SF skyline at night from Wikimedia Commons, and a picture of Big Sur that I got from Pixabay. Each picture contains the link to the original file if you’d like to download it yourself ;).
- Layer 5: The text is actually a group since there are 2 text layers. I had to group them in order to fill both with the images. After selecting the font, I created a clipping mask and hid the pictures in the background.
- Layer 6 and 7: The final layers are the Polaroid frame and the text. I chose a typeface that resembled a handwritten note.
This is my final design project for official purposes. I’ll probably keep working on it in the future. All in all, I wish I had another week or two to work on this since I know there are many things I could improve, but -insert sigh- no such luck.
Wags and Kisses,
Mocha’s mom.


.jpg)